Last updated October 30, 2026
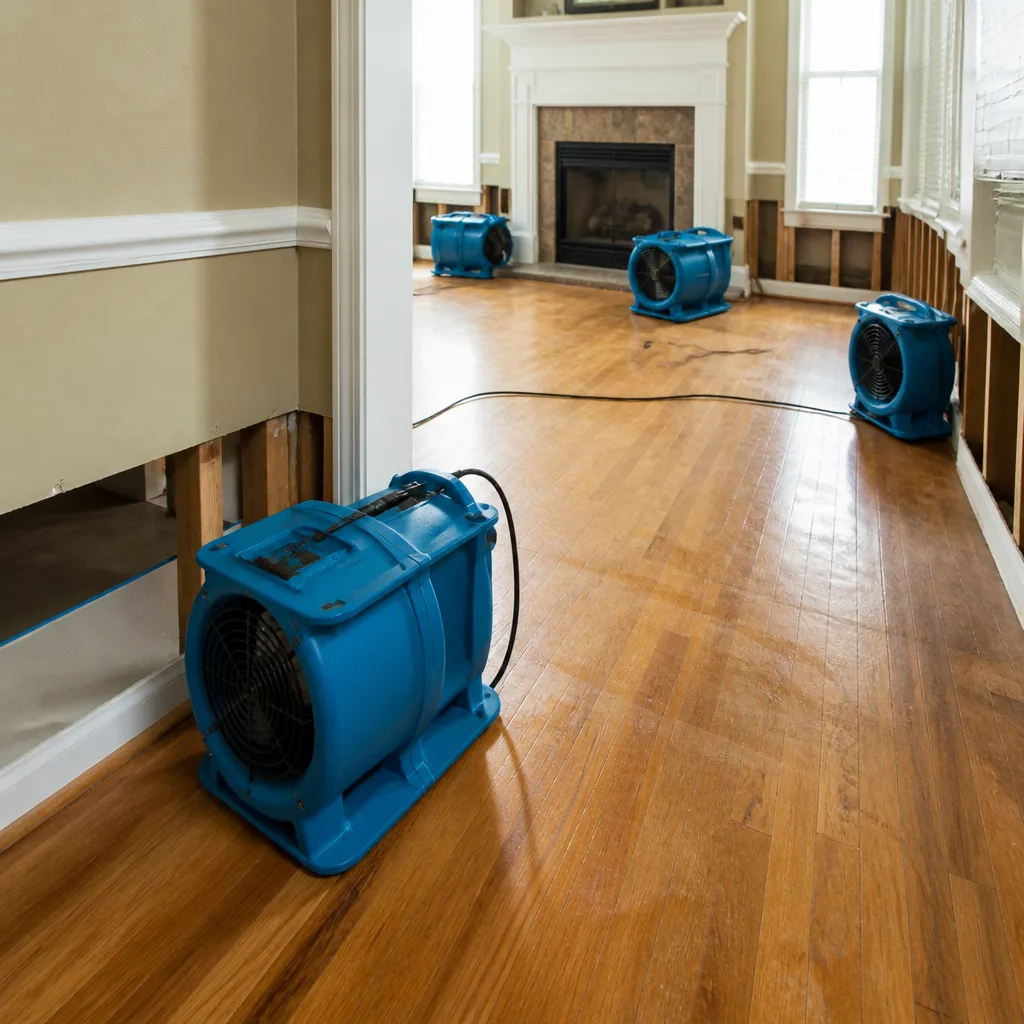 Water damage drying
 Fire & smoke cleanup
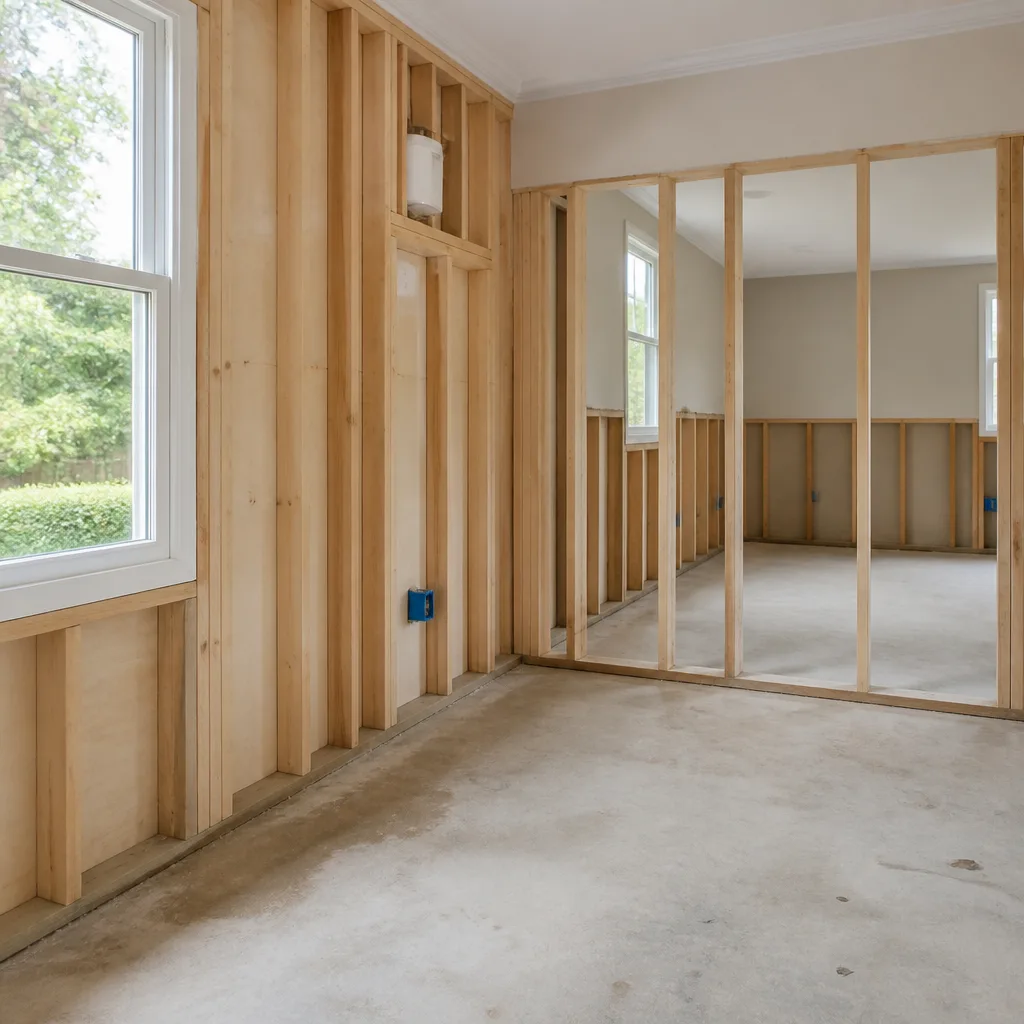 Mold remediation
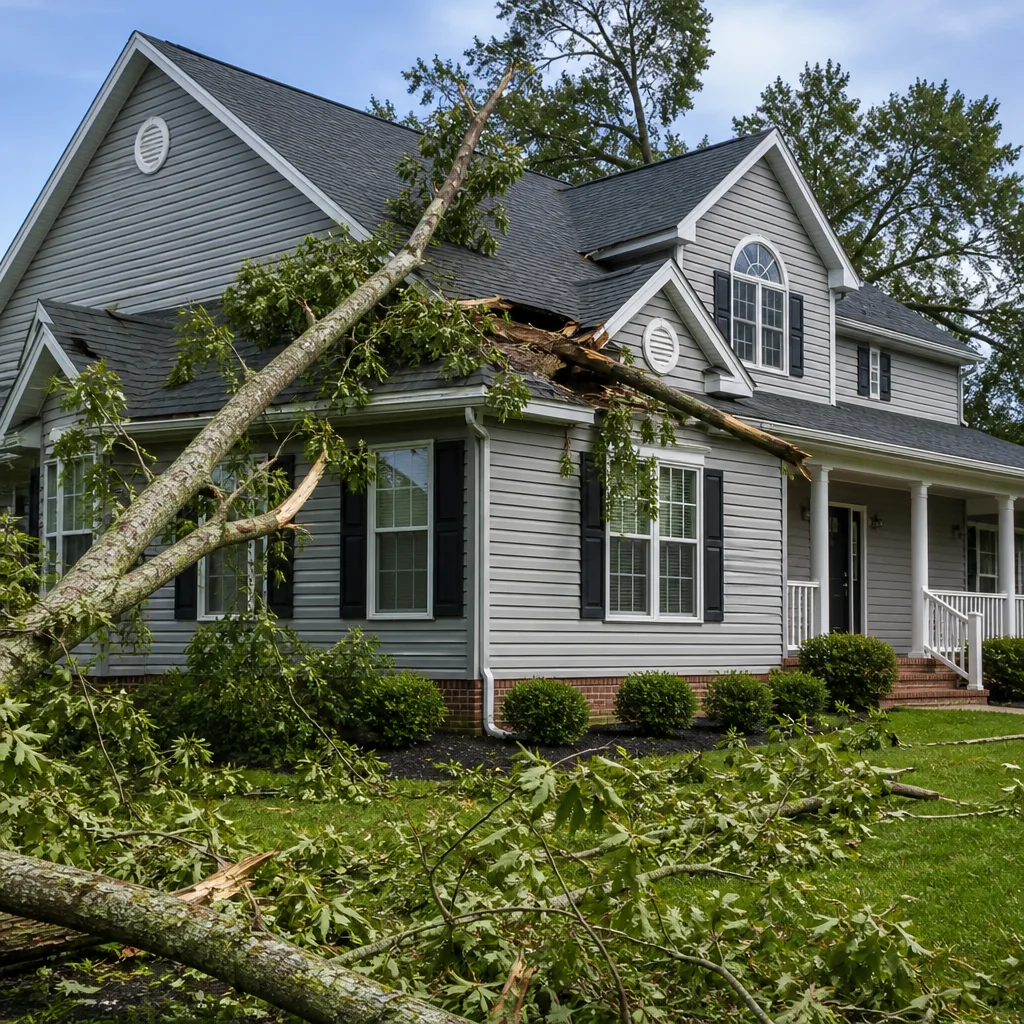 Storm response
 Sewage cleanup
 Reconstruction
Free visual inspection and a written scope of work before any mitigation begins - photos, moisture readings, and drying logs go in your claim file
The scope we write is the scope we bill. Anything new gets shown to you, in writing, before we touch it.
Get your free estimateDIY vs Professional Damage Restoration: The Rancho Cucamonga Homeowner’s Decision Guide
Renting a consumer dehumidifier from a hardware store after a water loss feels productive. But a consumer unit removes roughly 30 pints per day in a conditioned space; a professional LGR dehumidifier removes 150+ pints and maintains dew point suppression that consumer units can’t achieve. Running the wrong equipment for five days changes nothing inside the wall. If you’re a homeowner in Rancho Cucamonga staring at a soaked carpet, a ceiling stain, or a suspicious patch of discoloration, this guide will show you exactly where the DIY line is, what you can safely handle in the first two hours, and where amateur restoration creates compounding liability that no savings justify. For more on choosing the right professional, see our step-by-step guide.
Quick Answer
DIY is appropriate for extraction, contents removal, and photo documentation within the first two hours of a clean-water loss. Professional restoration is non-negotiable when water has penetrated wall cavities, flooring underlayment, or any porous structural material for more than 48 hours, and in every Category 2 or Category 3 water event. The deciding factor isn’t effort; it’s whether you can measure moisture below the surface and dry the structure itself, not just the air.
Restoration work we handle
Table of Contents
- What You Can Safely Handle in the First Two Hours
- Why Moisture Measurement Beats Visual Dryness
- The Equipment Gap: What Professionals Run vs. What You Can Rent
- Water Categories and the Health Liability You Can’t See
- Insurance Language That Voids Claims Without Professional Documentation
- The Real Cost Comparison: Diy Savings vs. Secondary Mold Remediation
- Rancho Cucamonga-Specific Factors: Climate, Construction, and Code
- Where the Same Logic Applies to Mold and Fire Damage
What You Can Safely Handle in the First Two Hours
There’s a window after a water loss where homeowner action genuinely matters, and we tell every Rancho Cucamonga client this: the first two hours are yours. Before we arrive, before any drying equipment goes in, there are specific tasks a homeowner can perform that reduce total damage and speed the restoration timeline. Here’s what’s actually in scope.
- Stop the source. Shut off the water supply valve at the fixture or the main line. For a supply-line break, this takes seconds. For a slab leak in a Rancho Cucamonga home built in the 1970s or 80s, you’ll likely need the main shutoff at the meter. Know where it is before you need it.
- Extract standing water with a wet/dry vac. A 12-gallon shop vac removes surface water from hard flooring and carpet. This is legitimate mitigation, not pretend work. Every gallon you remove is a gallon that won’t wick into drywall or baseboards.
- Move contents off wet surfaces. Furniture, rugs, boxes, electronics. Wood furniture legs will wick water and stain within hours. Put aluminum foil or plastic under legs that can’t be moved. Move valuables to a dry room entirely.
- Document everything. Photos of the affected area before you touch anything, during extraction, and after. Wide shots and close-ups. Your insurance adjuster will ask for these. So will any restoration company you call.
- Call for professional assessment. This is not an admission of defeat. It’s triage. A certified tech with moisture measurement tools can tell you in 20 minutes whether you’ve got a surface situation or a structural one.
The honest boundary of DIY ends here. Everything after this point, the drying, the cavity inspection, the humidity management, depends on tools you don’t own and can’t rent effectively from a big-box store. And here’s the thing we see regularly in Rancho Cucamonga: the homeowner who did everything right in hour one still ends up with hidden moisture because the visible surface dried while the wall cavity didn’t. Surface drying is the dangerous illusion.
If you’re mid-event right now, our Water Damage Restoration in Rancho Cucamonga page walks through the full professional process from extraction to structural drying. But first, understand the measurement problem, because it’s the whole argument.
Why Moisture Measurement Beats Visual Dryness
Visual dryness is not a legitimate benchmark for completed drying. A wall can feel bone-dry to the touch and still hold 18% moisture content inside the cavity, which is exactly where mold begins to colonize. This is the single most misunderstood fact in residential restoration, and it’s the reason we run into preventable mold problems throughout Rancho Cucamonga homes every year.
Professional restoration uses three measurement tools that don’t exist in the consumer aisle:
- Moisture meters (penetrating and non-penetrating). Penetrating meters drive pins into drywall or wood to read moisture content at depth. Non-penetrating meters scan through surfaces using radio frequency. Both give readings in moisture content percentage or a relative scale. A consumer-grade pin meter from Amazon costs $30 and reads surface conditions only. The professional-grade versions used on commercial losses cost hundreds and are calibrated for building materials, not firewood.
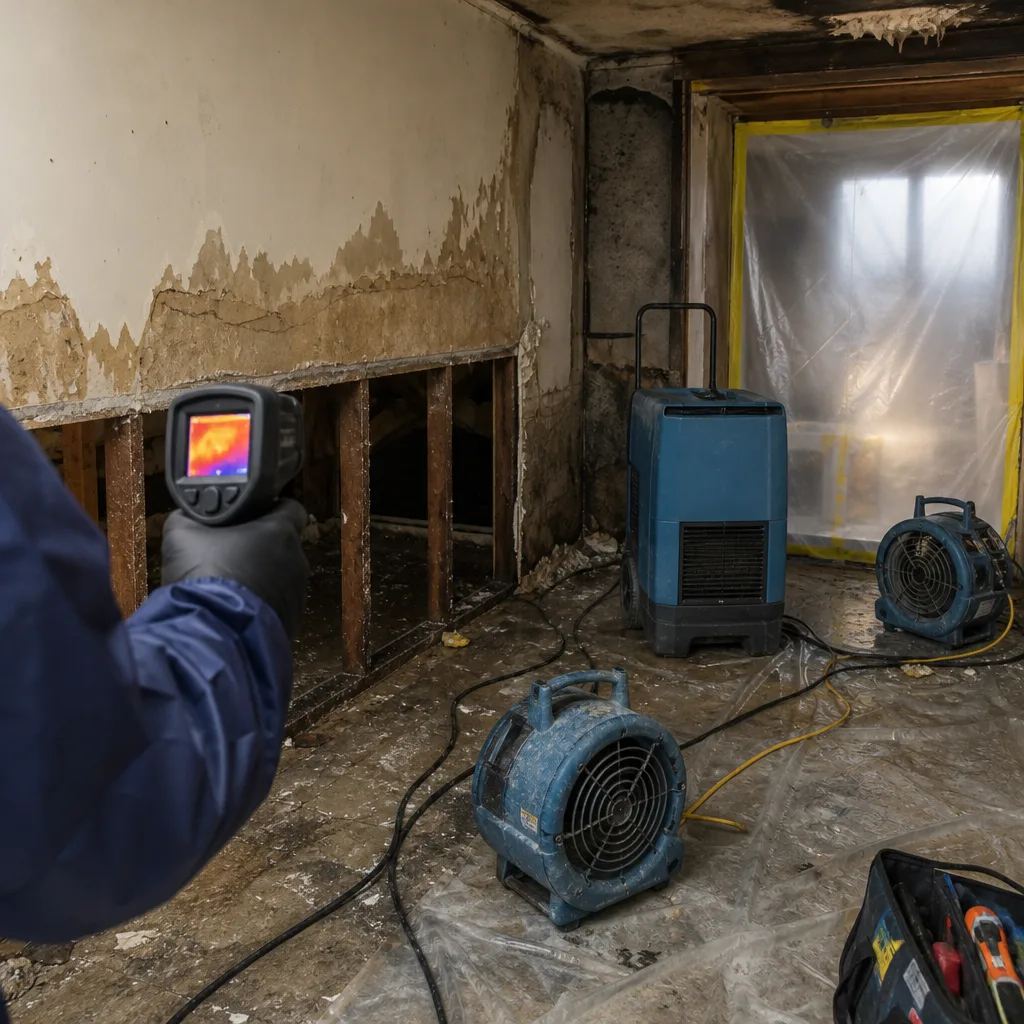
- Thermal imaging cameras. These show temperature differentials that suggest moisture patterns inside walls and ceilings. A trained eye reads an FLIR image and sees water migration paths; an untrained eye sees colorful blobs. The tool is only as good as the interpretation.
- Thermo-hygrometers. These measure temperature and relative humidity simultaneously, which is how you calculate specific humidity and dew point. Surface dryness without dew point control means moisture is moving somewhere else in the structure.
The IICRC standard for drying, the one we follow on every job and the one referenced in insurance policy language across the industry, defines “dry” as returning the affected material to within a specific range of its pre-loss moisture content. Not “feels dry to me.” Not “looks fine now.” Documented readings against a target. That’s the difference between a professional result and a hopeful guess, and why our process follows IICRC-certified drying protocols, not estimates: measurements.
Here’s what this looks like in real life. A supply line lets go in a second-floor bathroom in a Rancho Cucamonga home near Victoria Gardens. Water runs for an hour before anyone notices. The homeowner extracts, sets up fans, runs a rental dehumidifier for four days. The carpet feels dry. The baseboard looks fine. Eight weeks later, there’s an odor. A thermal scan shows moisture trapping behind the baseboard and under the vanity, where the homeowner’s equipment never reached. What was a $2,800 professional drying job is now a $9,000 mold remediation with drywall removal. We’ll expand on that math later, but this is the core argument of this entire guide: if you can’t measure it, you can’t confirm it.
The Equipment Gap: What Professionals Run vs. What You Can Rent
The equipment question is where DIY math falls apart fastest. Big-box rental dehumidifiers are typically refrigerant-based units rated at 30-50 pints per day under AHAM conditions, which is a 60% relative humidity, 80°F lab environment. Real-world performance in a water-damaged room is lower. Professional restorers run low-grain refrigerant (LGR) dehumidifiers from brands like Dri-Eaz, Phoenix, and B-Air that pull 150+ pints per day in the same conditions and continue removing moisture down to much lower humidity levels. The difference isn’t incremental; it’s category-shifting.
Here’s the equipment comparison in plain terms:
| Equipment | Consumer/Rental Option | Professional Option | Why It Matters |
|---|---|---|---|
| Dehumidifier | 30-50 pints/day, refrigerant | 150+ pints/day, LGR (Dri-Eaz, Phoenix) | LGR maintains dew point suppression in structural cavities; consumer units don’t |
| Air movers | Box fans, carpet fans | High-velocity axial fans (XPOWER, B-Air) | Professional air movers create enough airflow to drive moisture from materials into the air for dehumidification |
| Moisture detection | Visual inspection, $30 pin meter | Penetrating/non-penetrating meters, thermal imaging | Only professional tools verify drying to IICRC standard |
| Structural drying | Not available at retail | Injectidry system, mat systems | Dries inside walls and under flooring without demolition |
| Air scrubbers | Consumer air purifiers | HEPA-filtered negative air machines | Captures mold spores and particulates during remediation |
The Injectidry system deserves special attention because it changes the demolition conversation entirely. Injectidry technology pushes dry air into wall cavities, under cabinets, and beneath flooring through small ports, so we can dry the structure in place rather than cutting everything open. We open walls when necessary, not by default. No consumer rental equivalent exists. Homeowners facing water intrusion behind drywall have two choices: open it up themselves with a reciprocating saw and guess at replacement, or call a professional who can measure, inject dry air, and confirm the cavity hit the target. In Rancho Cucamonga homes with custom cabinetry or recent remodeling, that distinction can mean tens of thousands in avoided rebuild costs.
One more point on equipment, because it speaks to the quality gap we’re talking about here. The tooling matters, but the protocol matters more. Commercial-grade equipment, residential attention to detail is the actual standard. A Phoenix LGR in the hands of someone who doesn’t understand dew point, grain depression, or drying chambers is just an expensive fan. Equipment is necessary, not sufficient. What you’re buying when you hire a certified restoration company isn’t just the machines; it’s the judgment to deploy them correctly.
Water Categories and the Health Liability You Can’t See
The insurance industry and the IICRC both classify water damage into three categories, and the category determines whether DIY handling is even discussable. Understanding these categories matters beyond the current claim; it’s about the health liability you carry into the future, including to future occupants and resale buyers.
- Category 1: Clean water. Supply-line breaks, faucet overflows, rainwater that hasn’t touched building materials. If you extract promptly and dry quickly, DIY surface handling is reasonable and low-risk. This is the only category where the two-hour window applies without caveat.
- Category 2: Gray water. Washing machine discharge, dishwasher overflow, toilet overflow with urine but no feces. This water contains biological and chemical contaminants. It requires antimicrobial treatment after extraction. DIY cleanup without proper biocides and PPE is a health risk, not just a structural risk.
- Category 3: Black water. Sewage backup, floodwater from outside, toilet overflow with feces, standing water that has sat long enough to grow bacteria. Category 3 is a biohazard. It requires full containment, removal of affected porous materials, and disinfection. No responsible professional would suggest a homeowner handle Category 3 as a DIY project, and no homeowner should.
In Rancho Cucamonga, a city where older neighborhoods like Alta Loma and Cucamonga proper have sewer laterals that are now 40 to 60 years old, sewage backups are a recurring reality. When a lateral collapses or roots invade a line, the result is Category 3 water in a finished basement or ground-floor bathroom. The homeowner who mops this up with bleach and a shop vac has just moved raw sewage into baseboards, flooring, and wall cavities. Worse, they’ve potentially aerosolized pathogens into the living space. The structural damage compounds; the liability compounds faster.
And here’s the resale angle, which rarely shows up in DIY-versus-pro discussions. California has strict real estate disclosure requirements. Sellers must disclose known water damage and mold issues. A Category 3 event that was DIY’d and not documented becomes either a disclosure problem or a hidden defect problem, both of which are worse than the original mitigation bill would have been. The professional who certifies drying generates documentation that protects you down the line. We dry the structure, not just the surface, and you get the paperwork to prove it.
Insurance Language That Voids Claims Without Professional Documentation
Most Rancho Cucamonga homeowners never read their policy until they need it. When they do, they find language that quietly requires “industry standard” or “professional” restoration practices. The phrase to look for is “reasonable and necessary” restoration, or similar wording in the Duties After Loss section. Your policy requires you to take reasonable steps to mitigate further damage. What constitutes reasonable? In claims practice, it means documented, defensible restoration work that meets or exceeds industry standards.
This has a direct impact on the DIY decision:
- If your DIY drying attempt fails and mold develops, the insurer may argue that the secondary damage resulted from inadequate mitigation, not the original covered loss. The claim gets reduced or denied, and you’re left holding the mold remediation bill plus the rebuild.
- If you perform DIY demolition before an adjuster sees the damage, you’ve destroyed evidence the adjuster needed to evaluate the claim. This is a common and expensive mistake. Before cutting out drywall or removing flooring, document heavily and ideally have a professional assessment on record.
- If you hire an unlicensed contractor or handyman, the insurer has no obligation to cover work that fails. A restoration company with IICRC-certified practices provides documentation that supports your claim rather than undermining it.
We work directly with adjusters on claims throughout Rancho Cucamonga. Photo documentation, moisture maps, drying logs, and final moisture content readings all become part of the claim file. That’s not bureaucracy; that’s your coverage working as intended. When an adjuster sees that professional standards were met and documented, the process moves faster and disputes are rare. When the adjuster sees a homeowner’s hand-written notes and a rental receipt from a hardware store, the burden shifts to you.
Who deals with my adjuster? This is one of the most common questions we hear, and it belongs in any homeowner’s decision guide. A restoration company should be willing to communicate directly with your insurance carrier, provide the documentation the adjuster requests, and explain the technical findings in terms the adjuster understands. If you’re handling DIY and the claim gets complicated, you’re now the project manager, the technical expert, and the documentation department simultaneously. That’s a heavy lift during an emergency.
The Real Cost Comparison: DIY Savings vs. Secondary Mold Remediation
Let’s talk honestly about money, because the DIY decision is usually a money decision. On the surface, do-it-yourself looks like heavy savings. In practice, the math is less kind, especially when the first drying attempt fails.
Here’s what a typical DIY water damage response in Rancho Cucamonga actually costs:
- Wet/dry vac rental: $25-40 per day
- Consumer dehumidifier rental: $40-60 per day
- Box fans: you may own these already
- Bleach, gloves, basic supplies: $40-75
- Total for a 5-day DIY attempt: $300-550
That’s real money saved, if the drying works. The professional equivalent for a moderate, single-room clean-water loss typically runs $1,800 to $3,500 including equipment, monitoring, and documentation. So DIY saves roughly $1,500 to $3,000 on the front end, and if the walls are actually dry and the moisture goal is met, the homeowner did fine.
The problem is the failure case, and we see it too often to call it rare. Let’s walk through the actual sequence:
- DIY attempt: $300-550. Surface looks dry, equipment goes back to the rental counter, everyone feels relieved.
- Four to eight weeks later: odor or visible staining appears. Mold has colonized inside the wall cavity where the consumer equipment couldn’t reach. You now have a Category 2 or mold remediation situation.
- Mold remediation: $3,500 to $8,000. This includes containment, HEPA air scrubbing, removal of affected drywall and insulation, antimicrobial treatment, and drying. This is the range for a moderate single-room situation in the Inland Empire market. Larger areas run higher.
- Rebuild: $2,000 to $6,000. Drywall replacement, painting, baseboard, possibly flooring. If the mold reached the subfloor, you’re pulling flooring too.
- Total after failed DIY: $5,800 to $14,500. Plus the original DIY cost. Plus weeks of disruption.
Compare that to the professional path done right: $1,800 to $3,500, no mold, no rebuild, no weeks of living with a failed room, and a documented drying record for your insurance file. The DIY savings look different through that lens.
None of this is a scare tactic. It’s the actual outcome distribution we observe across hundreds of water losses in the Inland Empire. Some DIY jobs work out. Most water losses that touch structural cavities don’t. The only way to know which one you have is measurement, and measurement is the professional’s opening move, not a bonus feature.
Rancho Cucamonga-Specific Factors: Climate, Construction, and Code
Every region has its own restoration profile, and Rancho Cucamonga’s is shaped by three things: an arid-summer Mediterranean climate with occasional heavy winter rain, a housing stock that spans five decades of construction methods, and a location against the San Gabriel foothills that creates specific drainage and moisture patterns. Our Seasonal Damage Restoration Care for Rancho Cucamonga covers how these factors shift throughout the year. None of these are theoretical.
Climate. Rancho Cucamonga summers hit 100°F regularly, with single-digit humidity. That sounds like it would make drying easy, and it does help surface evaporation. But low ambient humidity also means hidden moisture moves differently. When outdoor humidity is 8%, the moisture inside a wall cavity is fighting a strong vapor-pressure gradient. It will eventually equalize through the drywall, which is exactly how moisture from a slow leak becomes a ceiling stain weeks after the original event. The house dries on the outside while trapping moisture inside, and homeowners are fooled by the arid climate into thinking things self-resolve.
Construction. Rancho Cucamonga’s housing stock includes 1970s and 1980s subdivisions, 1990s and 2000s master-planned communities, and newer infill construction. Older homes often used plaster over drywall or rock lath, which handles water differently than modern gypsum board. Plaster can hold moisture longer and mask visual signs better. Newer homes tend to be tighter envelopes, which means less natural air exchange and longer drying times without mechanical drying. Neither is DIY-friendly for cavity drying.
Drainage and geography. Homes built against the foothills, particularly in the Alta Loma area and north of the 210, deal with hillside drainage. A heavy winter storm doesn’t just fall on your roof; it washes across it from the slope above. Poorly maintained drainage sends water toward foundations and into crawlspaces. What starts as a “wet crawlspace” in January becomes a structure-wide humidity problem by March. Crawlspace drying is not a box-fan job.
The point is that generic DIY advice from a national website ignores what’s specific about this city. A restoration plan for a 1985 rancher in central Rancho Cucamonga is different from a plan for a 2015 two-story near the foothills. Professionals who work this market daily, and who carry the right measurement tools, see those differences immediately. Homeowners reading national guides don’t.
Where the Same Logic Applies to Mold and Fire Damage
The DIY-versus-professional distinction doesn’t stop at water. The same measurement, documentation, and liability logic applies to mold and fire damage, and the three are often connected in sequence. Water becomes mold; fire suppression creates water; all three require professional attention at certain thresholds.
Mold. The homeowner who finds a quarter-sized patch of surface mold on a bathroom wall can clean it with the right product and move on, if there’s no ongoing moisture source. The homeowner who finds mold spreading behind a wall, around a window that’s leaked for years, or under a sink after a slow supply leak needs more than surface cleaning. Proper mold work involves identifying the moisture source, containing the work area with negative air pressure, HEPA-filtered air scrubbing, removing affected materials, treating remaining surfaces, and verifying that the moisture condition is resolved. Our Mold Remediation in Rancho Cucamonga services follow this full sequence under IICRC-certified methodology. DIY mold removal without containment can distribute spores through the home and turn a localized problem into a whole-house one. That’s a known failure pattern, not a hypothetical.
Fire. Fire damage involves multiple contamination classes: soot, smoke residues, and water from suppression. Soot is acidic and embeds in porous materials quickly. Smoke odor requires thermal fogging or ozone treatment in many cases, not just repainting. And the water used to put out the fire creates the same hidden-moisture problem described above. Our Fire Damage Restoration in Rancho Cucamonga work addresses the full chain. A homeowner painting over smoke-damaged drywall without proper cleaning has just locked soot inside the wall cavity. The odor returns. The paint fails. The work was wasted.
Across all three, the argument is the same. There are homeowner tasks, and there are professional tasks. The line between them isn’t about effort or competence. It’s about tools, measurement, documentation, and liability. The homeowner who understands where that line sits will save money, avoid secondary damage, and keep their insurance position intact. That’s the whole decision guide in one paragraph. For more guides & resources, visit our blog.
Common Mistakes to Avoid
- Waiting to check the wall cavity. Surface dryness means nothing if moisture is trapped inside. If water sat for more than a couple hours, assume the cavity is wet until a moisture meter says otherwise. Waiting until odor appears turns a drying job into a mold job.
- Demolishing before documenting. Cutting out drywall before photos and before an adjuster sees the damage destroys the evidence your claim depends on. Document first, document thoroughly, then touch nothing.
- Using bleach on mold. Bleach kills surface mold but doesn’t penetrate porous materials, and it doesn’t address the moisture source. The mold returns, and you’ve introduced bleach fumes into your living space for nothing.
- Running consumer dehumidifiers without air movement. A dehumidifier without proper air movers creates a dry pocket around the unit while moisture stays in the materials. You need both, coordinated, which is exactly what a professional drying setup does.
- Assuming homeowner’s insurance covers DIY mistakes. Most policies cover reasonable mitigation, not failed mitigation. If your DIY drying attempt creates secondary mold, you may have just manufactured an uninsured loss. Read the Duties After Loss section and call your adjuster before committing to the DIY path.
- Ignoring crawlspaces and attics. In Rancho Cucamonga, moisture migrates into crawlspaces and attics more than homeowners expect. A water loss in a main-floor room often means a wet crawlspace directly below. If you don’t look, you don’t know, and the problem compounds.
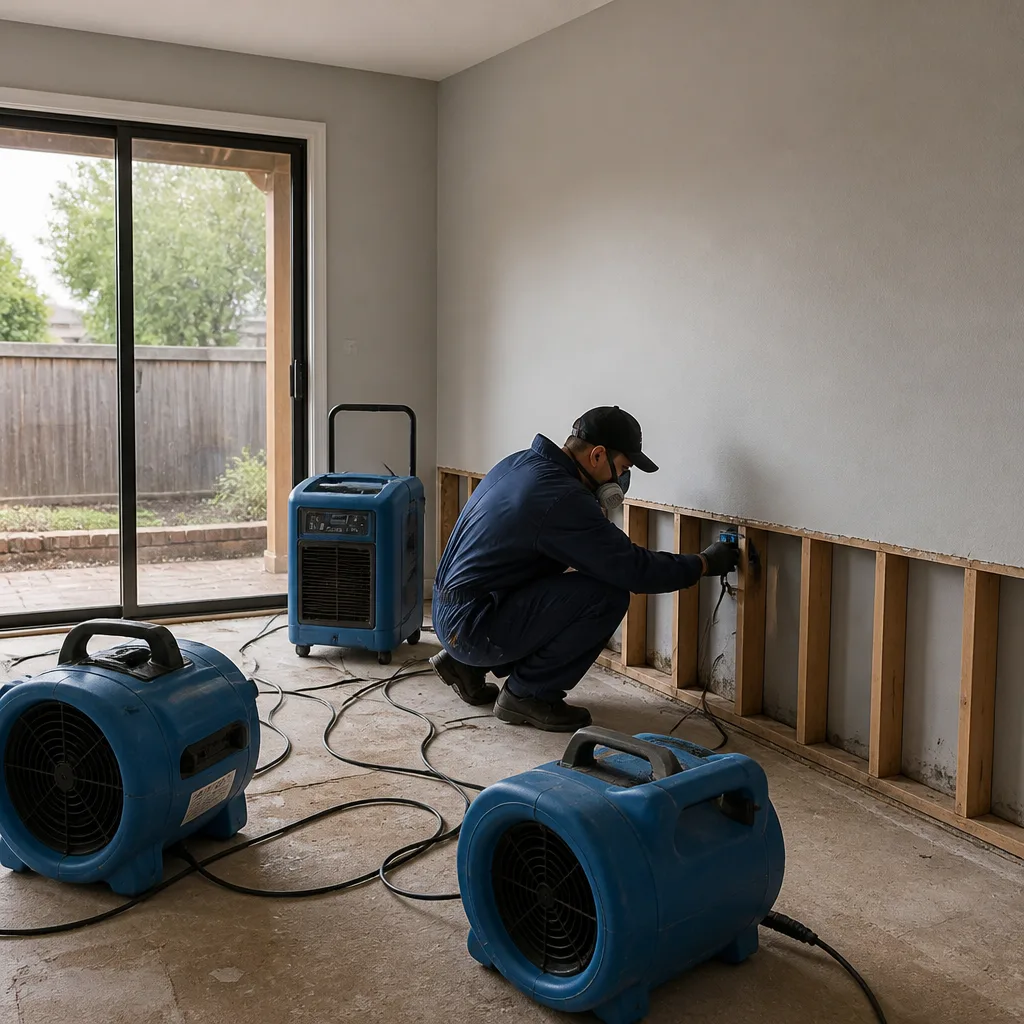
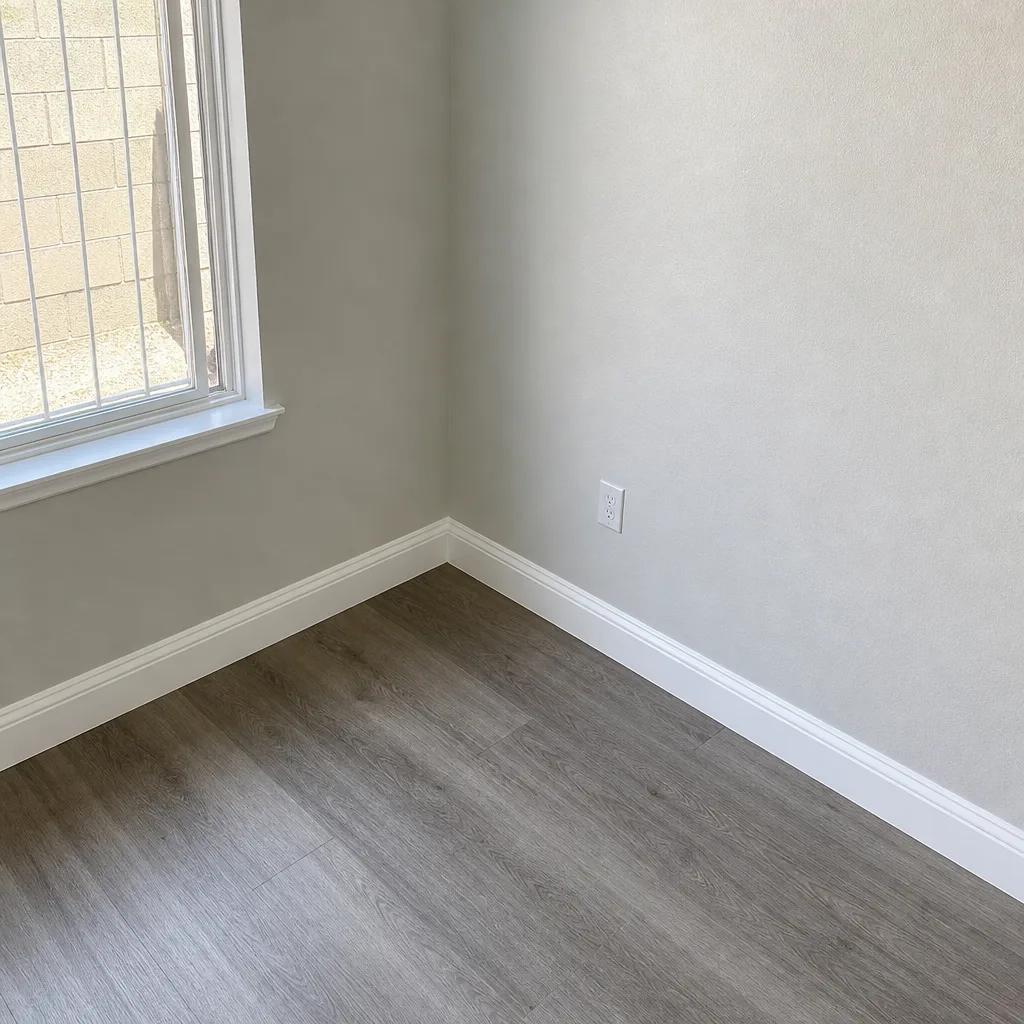
See the difference
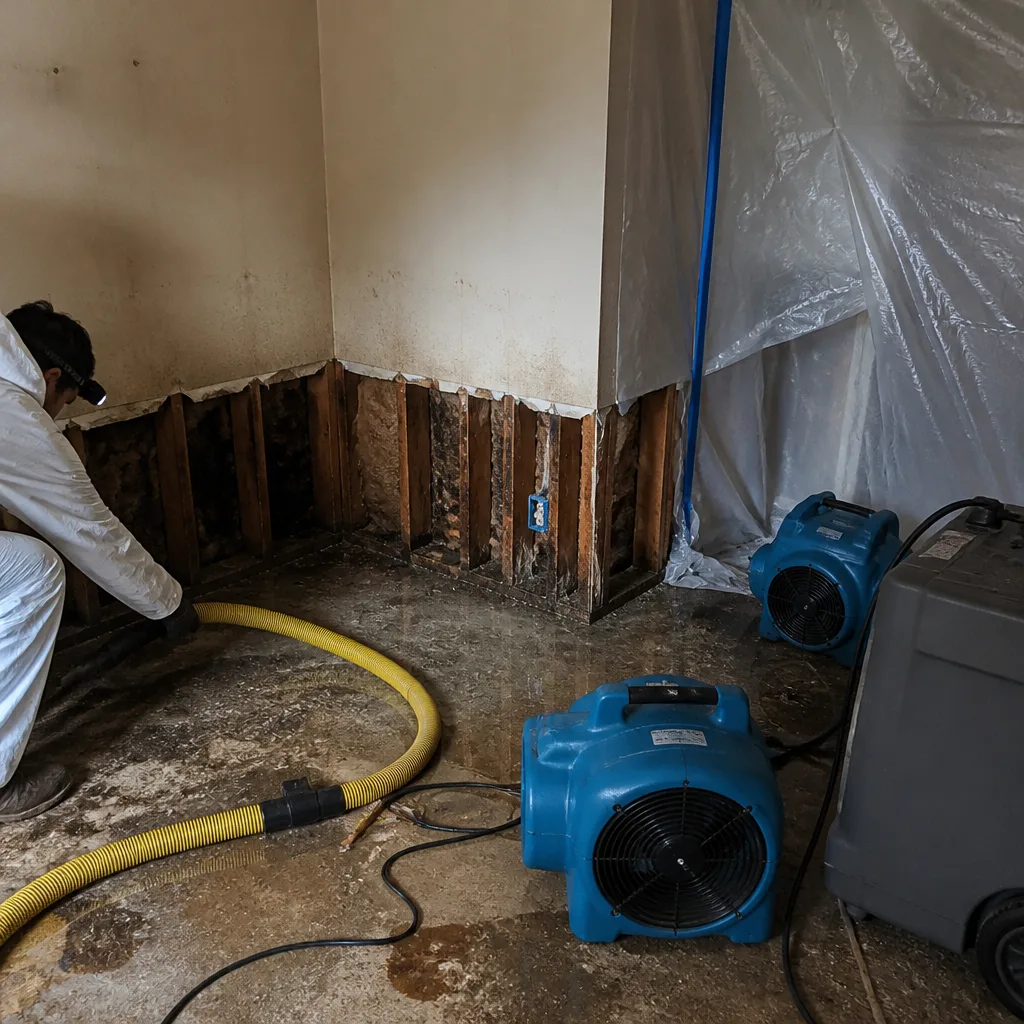 Before
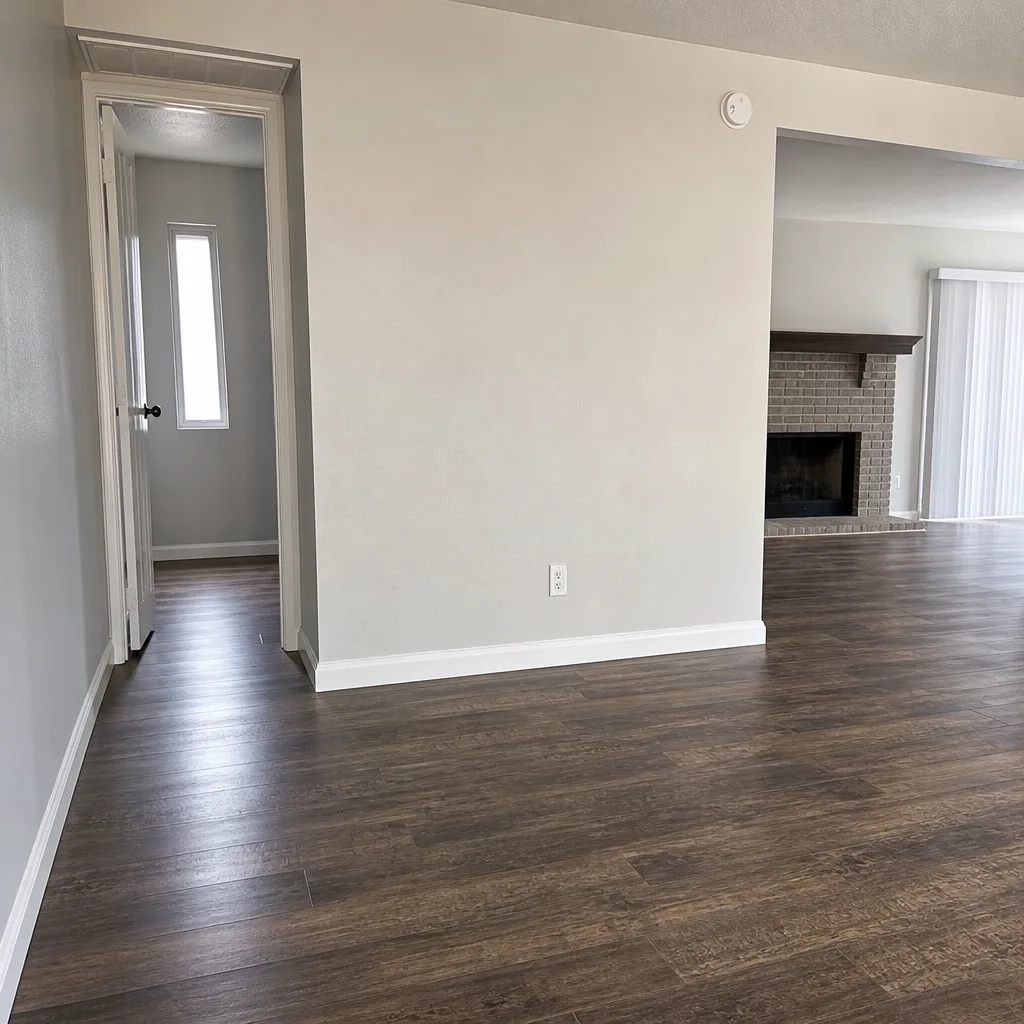 After
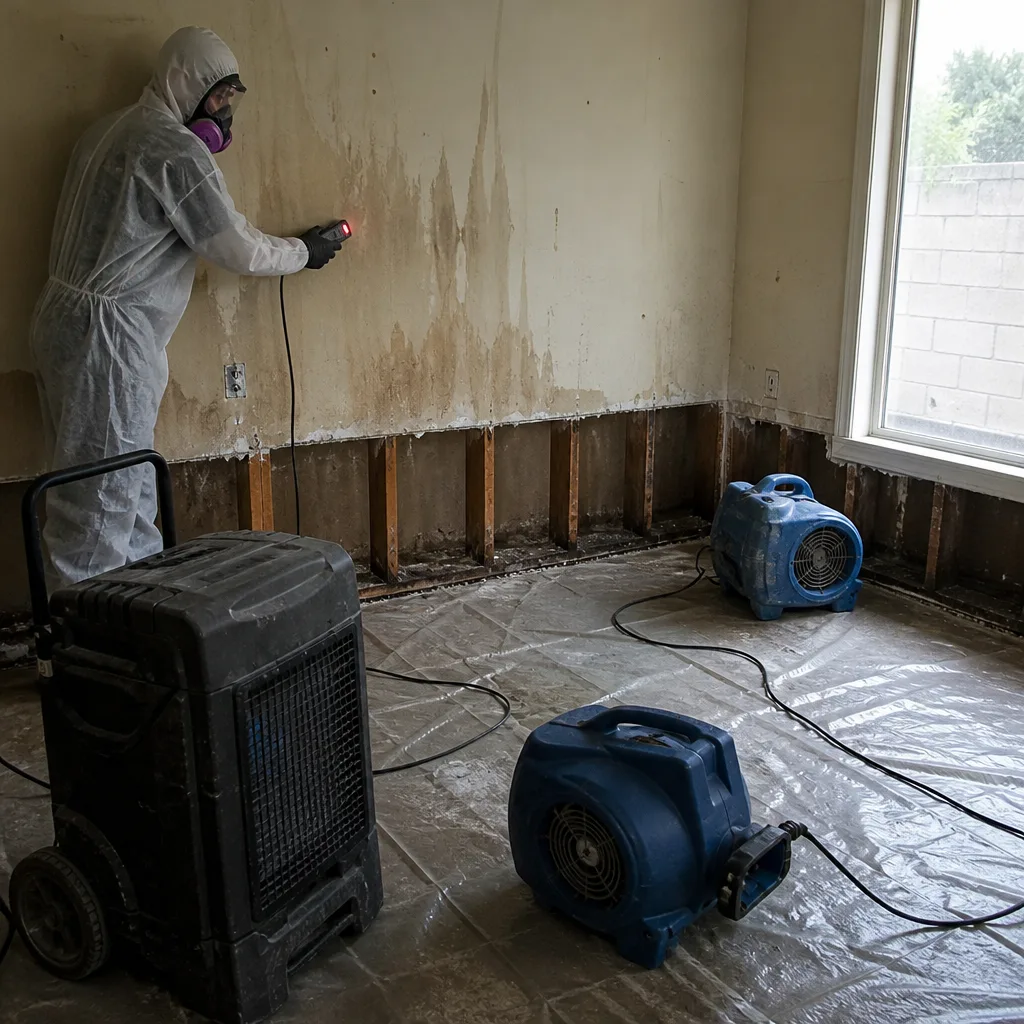 Before
 After
 Before
 After
When to Call a Professional
Call a professional when water has reached wall cavities, flooring underlayment, or any structural material for more than a few hours. Call when the water source is gray or black (Category 2 or 3). Call when you smell mold or see discoloration spreading. Call when your insurance policy requires documented professional mitigation. Call when the affected area spans multiple rooms or involves finished ceilings. Call when the event is a sewage backup, a roof leak that’s been running through the wall cavity, or any water loss in a home with a history of prior issues. In Rancho Cucamonga, Flood Guard Water Damage offers free estimates and IICRC-certified methodology on every job, and you can reach us at (844) 716-1094.
Frequently Asked Questions
Most restoration companies in the Inland Empire can respond within 60 to 90 minutes for active water emergencies, and faster during business hours depending on location. The first call should happen while you’re still extracting or moving contents. Surface water keeps migrating until the professional drying system is in place, so the response window matters.
Standard homeowner’s policies cover sudden and accidental water damage, and professional restoration costs fall under the mitigation portion of your claim. The key requirement is that the work be documented and reasonable. A restoration company that works directly with adjusters makes this process smoother. Call (844) 716-1094 and we’ll walk through what your policy likely covers based on the specifics of your event.
For Category 1 water that was extracted quickly and never penetrated porous materials, a professional cleaning and drying may be sufficient. For Category 2 or 3 water, or any situation where materials were wet for more than 48 hours, cleaning is not enough. You need the affected materials either removed or professionally dried and treated. The only way to know is moisture measurement and a professional assessment.
A restoration company with claims experience should handle direct communication with your adjuster, including documentation of moisture readings, drying logs, and scope of work. You shouldn’t be translating technical findings to your insurance company. That’s part of what you’re paying for with professional restoration.
DIY is safe for the first two hours of a clean-water loss: shut off the source, extract surface water, move contents, document. After that, you need measurement tools and professional drying equipment. Our Water Damage Restoration Maintenance Checklist for Rancho Cucamonga Homeowners outlines what to monitor going forward. If you’re uncertain, a professional assessment costs nothing and answers the question definitively.
The Inland Empire’s hot, dry summers help surface evaporation but can create a false sense that hidden cavities are drying. Low ambient humidity doesn’t pull moisture from inside wall cavities efficiently. Professional drying creates the airflow and humidity conditions that move moisture out of structural materials, regardless of outdoor weather.
The Bottom Line
The DIY-versus-professional question in water damage isn’t about skill, effort, or saving money. It’s about measurement. If you can measure moisture inside wall cavities and structural materials, and you have the equipment to dry those cavities, DIY is a legitimate option for clean-water losses. If you can’t, you’re guessing, and guessing creates the mold problems and insurance fights that make the original water loss look cheap. In Rancho Cucamonga, where the climate masks subsurface moisture and the housing stock spans five decades, professional measurement and drying are the difference between a resolved event and a compounding one. We dry the structure, not just the surface, and we document every reading along the way. When you’re ready for a professional assessment, call Flood Guard Water Damage at (844) 716-1094 for a free estimate. One team from extraction to clearance, no handoffs, no gaps. Start with our Flood Guard Water Damage home page to see the full scope of services.
Written by the team at Flood Guard Water Damage, serving Rancho Cucamonga since 2018.