Last updated October 30, 2026
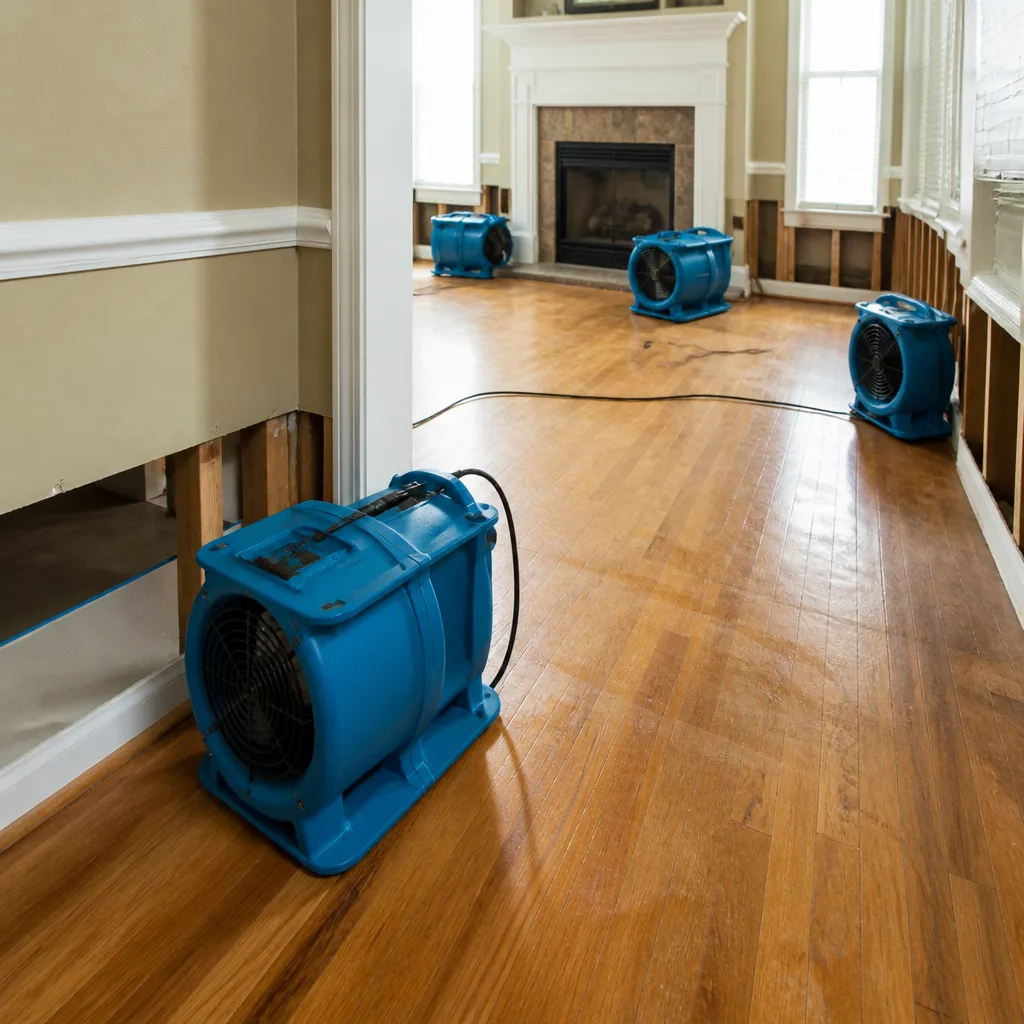 Water damage drying
 Fire & smoke cleanup
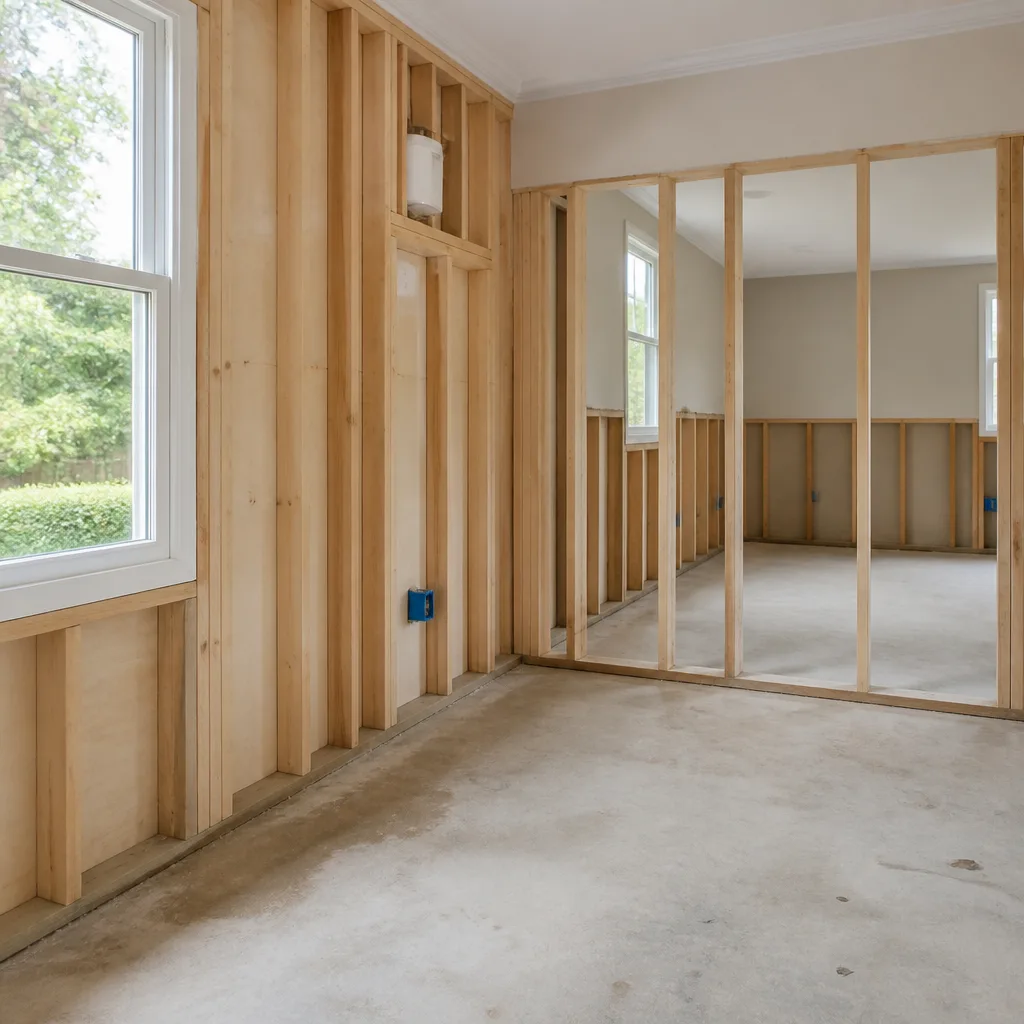 Mold remediation
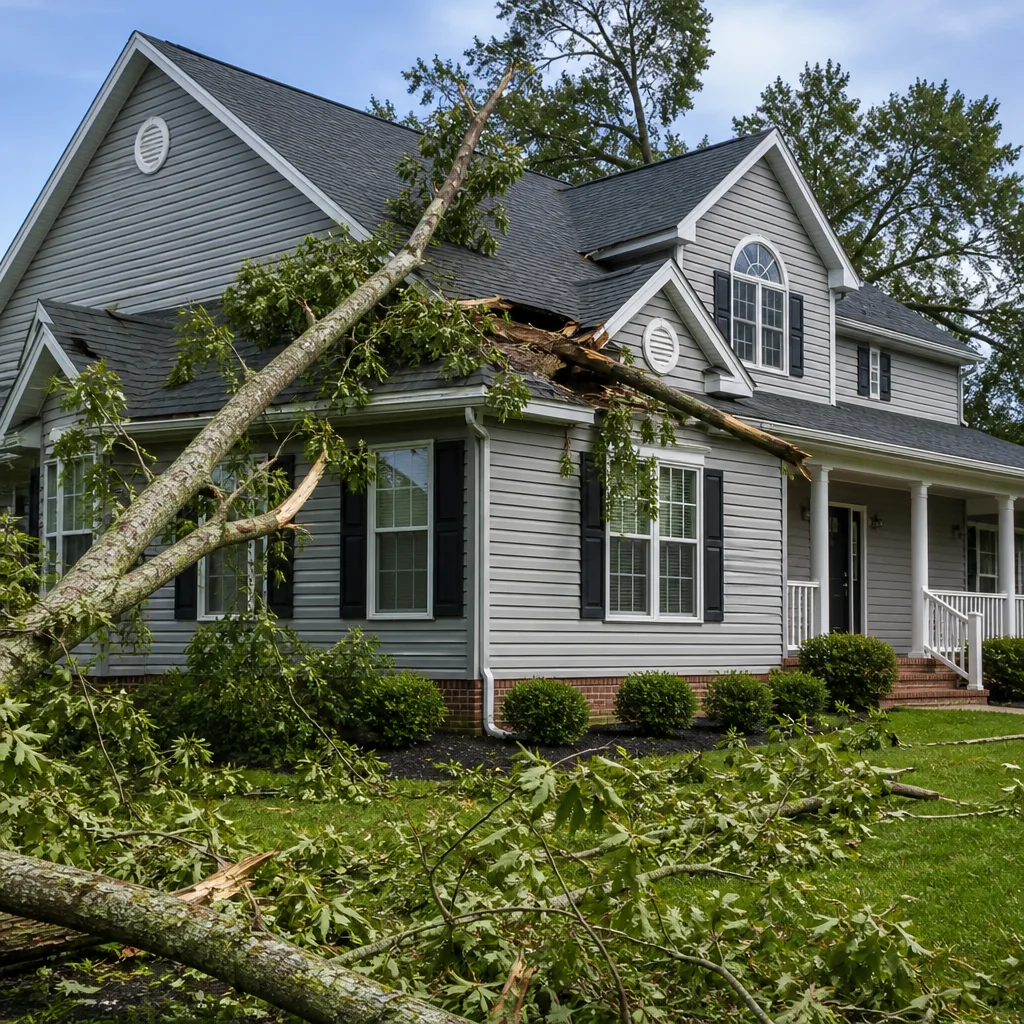 Storm response
 Sewage cleanup
 Reconstruction
Free visual inspection and a written scope of work before any mitigation begins - photos, moisture readings, and drying logs go in your claim file
The scope we write is the scope we bill. Anything new gets shown to you, in writing, before we touch it.
Get your free estimateWater Damage Restoration Troubleshooting: Common Problems and How to Fix Them
Running your home’s HVAC system to “speed up drying” after a water event is one of the most common post-flood mistakes we see in Rancho Cucamonga. The furnace fan doesn’t dry the structure. It redistributes contaminated air, pushes moisture into wall cavities that were never wet, and expands the damage footprint while making the job harder to document for insurance. This guide walks through the specific failure points we encounter after water damage, from stalled drying readings to incomplete remediations, and what actually fixes each one. For professional help, see our Water Damage Restoration services. We’ll cover professional-grade moisture detection, drying chamber adjustments, insurance documentation requirements, and contamination classification changes.
Quick Answer
Water damage restoration problems typically trace back to three root causes: inadequate moisture detection, insufficient drying equipment capacity, and missing documentation. Surface moisture readings create false confidence because water migrates into subfloor layers and wall cavities where consumer tools can’t read. Fixing these problems requires calibrated moisture meters, properly sized commercial dehumidification, staged air movement, and photo-documented evidence with psychrometric readings proving the structure returned to dry standard before materials were closed up. You can find more guides & resources on our blog.
Restoration work we handle
Table of Contents
- Why Your Moisture Meter Is Lying to You: Detection Gaps Homeowners Miss
- Stalled Drying: When GPP Readings Plateau and What to Adjust
- Signs a Previous Restoration Was Incomplete
- The Documentation Chain That Protects Insurance Claims
- Category 2 vs Category 3: When Water Classification Changes Mid-Job
- Why Rental Air Movers and Consumer Dehumidifiers Create False Confidence
- The HVAC Drying Myth and Other Ventilation Errors
- Common Mistakes to Avoid
- When to Call a Professional
- Frequently Asked Questions
Why Your Moisture Meter Is Lying to You: Detection Gaps Homeowners Miss
A $35 moisture meter from the hardware store reads surface moisture on materials it can physically touch. That’s useful for checking if a baseboard feels damp on the outside. It tells you almost nothing about what’s happening inside the wall cavity behind that baseboard, under the vinyl plank floor, or in the bottom plate of the framing. Professional restoration in Rancho Cucamonga relies on calibrated meters and thermal imaging cameras to map moisture migration paths that are invisible to the naked eye and to consumer tools.
Here’s what we actually measure when we troubleshoot a water damage claim:
- Wood moisture equivalent (WME) readings taken at multiple depths in the material, not just the surface. A stud can read 8% on the face and 28% at the base where water wicked up from the sill plate.
- Thermal imaging scans that detect evaporative cooling. Wet materials present cooler than dry surroundings, and a quality thermal camera maps the moisture perimeter in minutes. Consumer infrared thermometers miss this because they only read a single point.
- Psychrometric readings measuring temperature, relative humidity, and dew point to calculate grains per pound (GPP). This tells us whether the air is actually absorbing moisture from wet materials or just circulating damp air.
- Penetrating and non-penetrating meter comparison to identify trapped moisture below sealed surfaces. When a vinyl plank floor reads 10% on a non-penetrating scan and 24% when we lift a plank and take a penetrating reading, that gap is the smoking gun for hidden water.
In Rancho Cucamonga’s hot, dry summers, evaporation happens quickly on exposed surfaces. The top layer dries fast, and homeowners assume the problem is resolved. But summer monsoon humidity events and irrigation line breaks saturate the subgrade soil, and moisture wicks upward through concrete slabs for weeks. Surface readings show dry slab. The carpet feels dry. The moisture is moving through the concrete and into the tack strip, the baseplate, and eventually the drywall. By the time you see staining, the damage is advanced. That’s the gap between what a homeowner tool detects and what commercial restoration equipment like Dri-Eaz penetrating meters and thermal imaging systems are built to find.
One of the most common troubleshooting calls we run is a homeowner who dried their carpet with fans and a rental dehumidifier for five days, then noticed a musty smell returning three weeks later. The pad under the carpet never dried. The fans moved air across the carpet face, evaporating the surface moisture, but the pad held retained water against the slab. That’s a textbook setup for microbial growth, and it’s exactly the failure point that the Mold Remediation in Rancho Cucamonga service addresses on a regular basis.
Stalled Drying: When GPP Readings Plateau and What to Adjust
Professional drying follows a documented process. We take initial moisture readings and psychrometric baseline readings, set up drying equipment, and return daily to measure progress. If readings stop improving for 24-48 hours, the drying chamber has stalled. That’s a troubleshooting moment that separates professional restoration from guesswork.
A stalled drying chamber usually means one of four things is happening. Here’s the diagnostic sequence we run:
- Check the dehumidifier’s grain depression. A commercial dehumidifier should be pulling 40-60 grains per pound out of the air. If the GPP in the room isn’t dropping, the dehumidifier is either undersized, the intake filter is clogged, or the coil is icing up. A Dri-Eaz or Phoenix dehumidifier with a blocked filter is just a noisy fan.
- Check air mover positioning. Air movers should create a vortex across wet surfaces, not blow parallel to them. In a Rancho Cucamonga home with tile floors, that means angling air movers at roughly 45 degrees toward the baseboards to lift moisture from the wall-floor junction. On carpet, air movers should be placed under lifted carpet where possible to blow air across the pad and subfloor, not just the carpet face.
- Check for an overlooked moisture source. A drying chamber can’t win against an active leak. If a pinhole crack in a supply line is still weeping behind a wall, or an exterior irrigation valve is still cycling, the moisture load never decreases. This happens more often than homeowners expect, and it’s why we trace every water source before setting up equipment.
- Evaluate material removal. Some materials can’t be dried once they’ve absorbed enough water. Drywall that has wicked water 24 inches up the wall face is usually a removal, not a drying candidate. Insulation in a wall cavity that got saturated is a removal. Trying to force-dry materials that should be removed wastes time and energy, and it leaves the structure vulnerable to mold.
When GPP readings plateau, the fix isn’t always more equipment. Sometimes it’s repositioning what’s already there. Sometimes it’s realizing that a material is past the point of drying and needs to be cut out. The call takes experience, and the wrong call costs money on either side: you pay for extended drying time on one hand, or you pay for mold remediation later on the other.
Signs a Previous Restoration Was Incomplete
We do a lot of second-opinion inspections on homes where a prior water damage restoration was performed, and the homeowner never felt like the problem went away. Incomplete restorations leave behind telltale signs that are easy to find if you know what to look for:
- Musty odor that returns after remediation. A true structural drying eliminates the microbial food source. If the smell comes back within 30-60 days, moisture was trapped somewhere that wasn’t dried, or mold was present and wasn’t addressed. Odor in one specific wall cavity or under one section of flooring points to a localized moisture problem.
- Efflorescence on concrete slabs. White, chalky deposits on a concrete floor mean water has been moving through the slab and carrying dissolved minerals to the surface. In a Rancho Cucamonga home where a water heater leaked three months ago and the restoration team pulled the carpet and set up fans for four days, efflorescence on the slab means moisture is still moving through that concrete. It wasn’t dried.
- Soft baseboards or warped trim. Run a hand along the baseboards and door casing. If the wood feels soft in spots, that’s indicative of trapped moisture that never fully dried. Same with visible separation where the baseboard has pulled away from the wall or the door frame is no longer square.
- Flooring failure months later. Buckled hardwood, delaminating laminate, or vinyl plank that’s lifting at the edges are all signs that the subfloor was never brought back to dry standard before the flooring was reinstalled. The moisture was sealed in, and the flooring paid the price.
- Staining that reappears after repainting. Water stains bleed through new paint if the drywall wasn’t thoroughly dried or if the stain was painted over without sealing. This is a cosmetic symptom of an incomplete structural dry.
If you’re seeing any of these signs in a home that was “fully restored” six months ago, the restoration was not complete. The Flood Guard Water Damage home page outlines our triple-service approach, because water damage that wasn’t correctly dried becomes a mold problem, and catching it early is always less expensive than full mold remediation.
The Documentation Chain That Protects Insurance Claims
The difference between a paid insurance claim and a denied or reduced claim often comes down to documentation. Insurance adjusters need evidence that the damage occurred, that it was properly mitigated, and that the restoration was performed to industry standards. Most DIY restoration attempts fail the documentation test, and homeowners lose money because of it.
Here’s what a properly documented restoration includes, and what most homeowner attempts miss:
- Pre-mitigation photos. You need photos of the water source, the damage footprint, and the affected materials before anything is moved or removed. Take wide shots showing the full room and close-ups showing damaged materials. Insurance companies want to see the extent before you touched it.
- Moisture mapping. This is where professional restoration earns its fee. We create a documented map showing where moisture was detected, what the readings were, and what materials were affected. An adjuster reviewing a claim with no moisture mapping is looking at a story, not evidence. The mapping proves the scope of the loss.
- Daily drying logs. Every day the drying equipment runs, we record psychrometric readings: temperature, relative humidity, GPP, and material moisture content. These logs prove that the structure was actually dried, and they show the drying curve over time. A homeowner with photos of a rental fan doesn’t have a drying log.
- Post-drying verification. The final set of readings proving the structure reached dry standard. This is the evidence that stops an adjuster from saying, “well, we don’t know if it was actually dry when you closed the wall up.”
- Drying goal documentation. IICRC-certified restoration establishes drying goals based on the unaffected materials in the structure. We document the dry standard, we measure against it, and we only remove equipment when the affected materials match the unaffected baseline.
If you’re working with insurance on a water damage claim in Rancho Cucamonga and you’re worried about documentation, the best move is to call a restoration company that understands what adjusters need to see. The documentation is part of the service, not an upsell.
Category 2 vs Category 3: When Water Classification Changes Mid-Job
Water damage is classified into three categories based on the contamination level of the water source. Category 1 is clean water from a supply line or a broken fixture. Category 2 is significantly contaminated water that can cause illness if ingested. Category 3 is grossly contaminated water containing sewage, pathogens, or toxic substances. Here’s the troubleshooting problem: classification can change during the job.
Water starts as a Category 1 supply-line break on day one. But if that water sits in a Rancho Cucamonga home with the AC off during a hot July day, it warms up, and it starts picking up whatever was already in the carpet, the padding, and the slab. By day three, that “clean” water has become a breeding environment for bacteria, and the classification shifts to Category 2. The restoration scope changes with it.
Here’s what changes when water classification shifts from Category 2 to Category 3:
- Personal protective equipment. Category 3 water requires full PPE: respirators, gloves, protective suits. The restoration crew can’t walk in with work boots and a mask.
- Containment requirements. Category 3 requires containment barriers to prevent cross-contamination to unaffected areas of the home. Plastic sheeting, negative air pressure, and air scrubbers become part of the job.
- Material decisions change. Porous materials that could be cleaned and dried in a Category 2 job are removed and disposed of in a Category 3 job. Carpet, padding, and upholstered furniture that absorbed Category 3 water are gone. Non-porous surfaces get disinfected. Porous surfaces get cut out.
- Drying chamber rules change. Category 3 water changes the drying protocol. Air movers can spread contaminated dust, so the drying approach is adjusted, and air filtration becomes a priority.
- Contaminated air distribution. The HVAC system pulls air from the wet room and distributes it through the ductwork to every room in the house. If the water is Category 2 or 3, that’s contaminated air going into bedrooms, kitchens, and closets.
- Moisture penetration into ductwork. Humid air passing through metal ducts causes condensation. Water droplets form inside the ducts. That moisture sits in the ductwork and eventually supports microbial growth.
- Moisture pushed into wall cavities. Positive pressure from the HVAC system forces humid air through electrical outlets, gaps around windows, and joints in the drywall. The moisture condenses inside walls where you can’t see it.
- False drying signals. The HVAC dries the surface by pushing air across it, but it doesn’t reduce the overall moisture load in the structure. The pressure gradients just move it somewhere else.
- Running the HVAC system through wet areas. This redistributes moisture and potential contaminants through the ductwork, expanding the damage footprint. Turn off the system to the affected zone and contain it.
- Trusting surface moisture readings. A dry surface doesn’t mean a dry structure. Moisture wicks behind baseboards, under flooring, and into wall cavities. Professional detection equipment is required to find it.
- Waiting to start the drying process. Every 24 hours that wet materials sit unaddressed, the risk of microbial growth increases. Category creep is real, and a Category 1 supply line break can become a Category 2 situation within 48-72 hours in warm weather.
- Using consumer-grade equipment for a structural dry. A rental air mover and a consumer dehumidifier don’t have the capacity to dry a saturated structure. False confidence leads to premature coverage decisions and trapped moisture.
- Skipping the documentation. If you’re filing an insurance claim, undocumented mitigation is a claim that’s vulnerable to reduction or denial. Photos, moisture mapping, drying logs, and final verification readings are the evidence chain.
- Reinstalling flooring or drywall before the structure reaches dry standard. Sealing in moisture guarantees future problems: mold, flooring failure, and odor. Verify with penetrating meter readings that the subfloor and framing match dry standard before closing anything up.
- Trying to dry materials that should be removed. Soaked insulation, saturated drywall, and Category 3-contaminated carpet are removals, not drying candidates. Fighting to save materials that should be cut out wastes time and budget.
A homeowner who sees water on the floor in the morning and doesn’t act until the weekend is running the risk of classification creep. The water that was Category 1 on Tuesday may be Category 2 by Friday. That’s a different job with a different scope, and it’s more expensive. Speed matters, and that’s the honest truth that most restoration companies won’t tell you.
Why Rental Air Movers and Consumer Dehumidifiers Create False Confidence
You can rent an air mover from a hardware store for $20 a day. You can buy a consumer dehumidifier that pulls 30 pints per day and run it in a wet room. And you can convince yourself that you’re doing professional-grade drying. You’re not, and here’s why.
A consumer dehumidifier rated for 30 pints per day under ideal conditions might pull 8-10 pints per day in a cool, damp basement. A professional LGR (low grain refrigerant) dehumidifier from Dri-Eaz or Phoenix pulls 130-150 pints per day under actual job-site conditions. The difference matters. A room with 200 square feet of saturated carpet and pad holds more water than most homeowners realize. That carpet and pad can hold 10-15 gallons of water. A consumer dehumidifier takes a week to pull that moisture out, and by then, microbial growth is established.
Rental air movers create airflow but no drying plan. Air movers without dehumidification just blow wet air around the room. The moisture evaporates from one surface and condenses on a cooler one. It migrates into wall cavities and behind baseboards. The visible surface dries, and the homeowner thinks the job is done. What actually happened is that the moisture moved somewhere worse.
Professional restoration in Rancho Cucamonga uses balanced drying systems: enough dehumidification capacity to pull moisture from the air faster than the wet materials release it, and enough air movement to accelerate evaporation in the right places. The equipment brands matter. XPOWER and B-Air make professional air movers with the static pressure needed to push air across carpet, under baseboards, and into the boundary layer where evaporation happens. A $40 box fan doesn’t have that static pressure, and it doesn’t move enough CFM to matter.
The HVAC Drying Myth and Other Ventilation Errors
The HVAC mistake deserves its own section because it’s so common and so counterproductive. Homeowners turn on the furnace fan or the AC fan to “circulate air and help things dry.” Here’s what’s actually happening:
The correct approach is to isolate the affected area, turn off the HVAC system to the affected zone, and use contained drying chambers with dedicated dehumidification. In Rancho Cucamonga, where summer temperatures hit the mid-90s, running the AC in the rest of the house is fine. Running it through the wet area is not. The system should be sealed off with plastic sheeting, and drying equipment should operate independently in the affected zone.
Common Mistakes to Avoid
When to Call a Professional
If the water event affected more than a small, contained area that you can truly dry with towels and a wet vac, call a professional. If water contacted drywall, baseboards, cabinetry, or flooring, the moisture penetration is already deeper than surface drying can address. If the water source is anything other than clean supply-line water, the contamination concerns are beyond the DIY scope. For help selecting a provider, read Choosing the Right Damage Restoration Brand: A Buyer’s Guide for Rancho Cucamonga. If an insurance claim is involved, professional documentation protects your payout.
Flood Guard Water Damage offers free estimates in Rancho Cucamonga. Call (844) 716-1094 and we’ll inspect the damage, map the moisture, and give you a clear written scope of work. No obligation, and we’ll tell you honestly whether this is a job you can handle or a job that needs professional drying. If you’re in the Water Damage Restoration in Rancho Cucamonga area, our team covers the full restoration process from extraction to clearance. And if the damage has already progressed to mold, our Mold Remediation in Rancho Cucamonga service handles that too. For fire-related water damage from firefighting efforts, our Fire Damage Restoration in Rancho Cucamonga page covers the full scope.
Frequently Asked Questions
A correct restoration is documented with moisture mapping, daily drying logs, and final verification readings proving the structure returned to dry standard. Signs of an incomplete restoration include returning musty odors, efflorescence on concrete, soft baseboards, flooring failure months later, and staining that reappears after repainting. If you’re seeing any of those signs, the previous restoration missed moisture, and a professional inspection is warranted.
A consumer dehumidifier pulls 30-50 pints per day under ideal conditions. A saturated room with carpet and pad can hold 10-15 gallons of water, and a consumer unit can’t remove that moisture fast enough to prevent microbial growth. Professional LGR dehumidifiers from brands like Dri-Eaz and Phoenix pull 130-150 pints per day, which is the capacity needed to outpace evaporation and actually dry the structure. Using consumer equipment creates false confidence and leaves trapped moisture behind. Call (844) 716-1094 to discuss your specific situation.
Mold growth can begin within 24-48 hours on wet organic materials in warm conditions. Rancho Cucamonga summer temperatures accelerate this timeline significantly. The materials that support the fastest growth are drywall, carpet padding, and wood products. This timeline is why professional drying with proper dehumidification capacity matters immediately, not days later.
Most homeowners insurance policies cover sudden and accidental water damage, including supply line breaks, appliance failures, and storm-related water intrusion. Gradual damage from maintenance issues is typically not covered. The key factor in a successful claim is documentation: pre-mitigation photos, moisture mapping, drying logs, and final verification readings. Claims without that documentation are vulnerable to reduction or denial. Professional restoration companies understand what adjusters need and build the documentation chain as part of the service.
Category 3 water is grossly contaminated, containing sewage, pathogens, or toxic substances. It includes sewage backups, toilet overflows with feces, floodwater from rivers or storm surges, and standing water that has supported bacterial growth. Category 3 water requires full PPE, containment barriers, and a different material protocol: porous materials that absorbed the water are removed and disposed of, not dried. Classification matters because it changes the entire restoration scope.
Visible surface water evaporates on its own, but structural moisture does not. Water that has penetrated drywall, subfloor, baseboards, or wall cavities needs active drying with professional dehumidification and air movement. In Rancho Cucamonga’s dry climate, surface evaporation happens fast, which creates the illusion that the problem resolved. The hidden moisture remains, and it’s still migrating through the structure, feeding microbial growth, and causing slow deterioration. A professional moisture inspection is the only way to confirm the structure actually reached dry standard.
The Bottom Line
Water damage restoration troubleshooting comes down to three things: accurate moisture detection, properly sized drying equipment, and complete documentation. The mistakes that cost homeowners the most money are the ones that create false confidence: consumer moisture meters reading dry surfaces, rental fans moving air without dehumidification, HVAC systems redistributing moisture, and premature coverage decisions that seal in water. In Rancho Cucamonga, our climate masks these problems with fast surface evaporation. The structure underneath is still wet. If you’re troubleshooting a water damage problem, start with an honest assessment of what you can measure. For a deeper dive, see The Complete Guide to Damage Restoration in Rancho Cucamonga. If you can’t measure it, call someone who can. Flood Guard Water Damage offers free estimates in Rancho Cucamonga. Call (844) 716-1094 to schedule an inspection of your specific situation.
Written by the team at Flood Guard Water Damage, serving Rancho Cucamonga since 2018.
See the difference
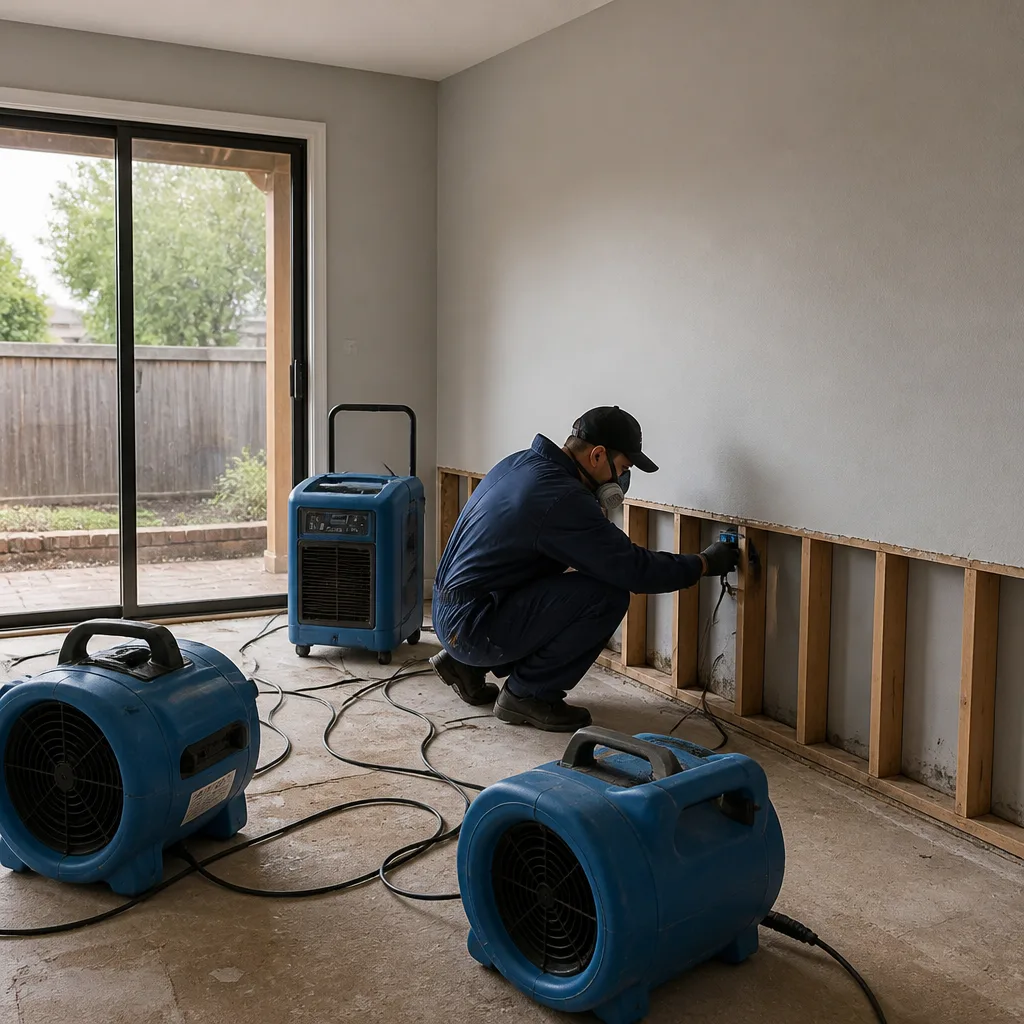
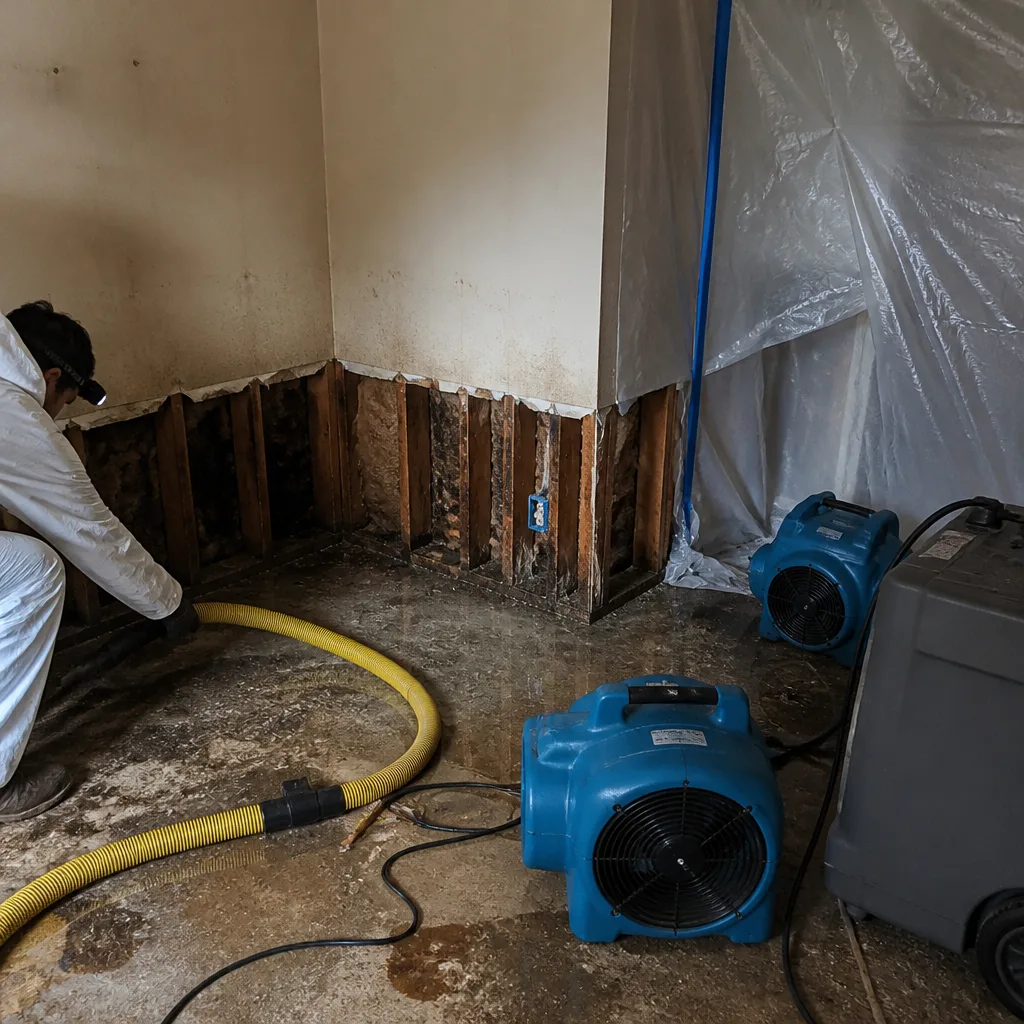 Before
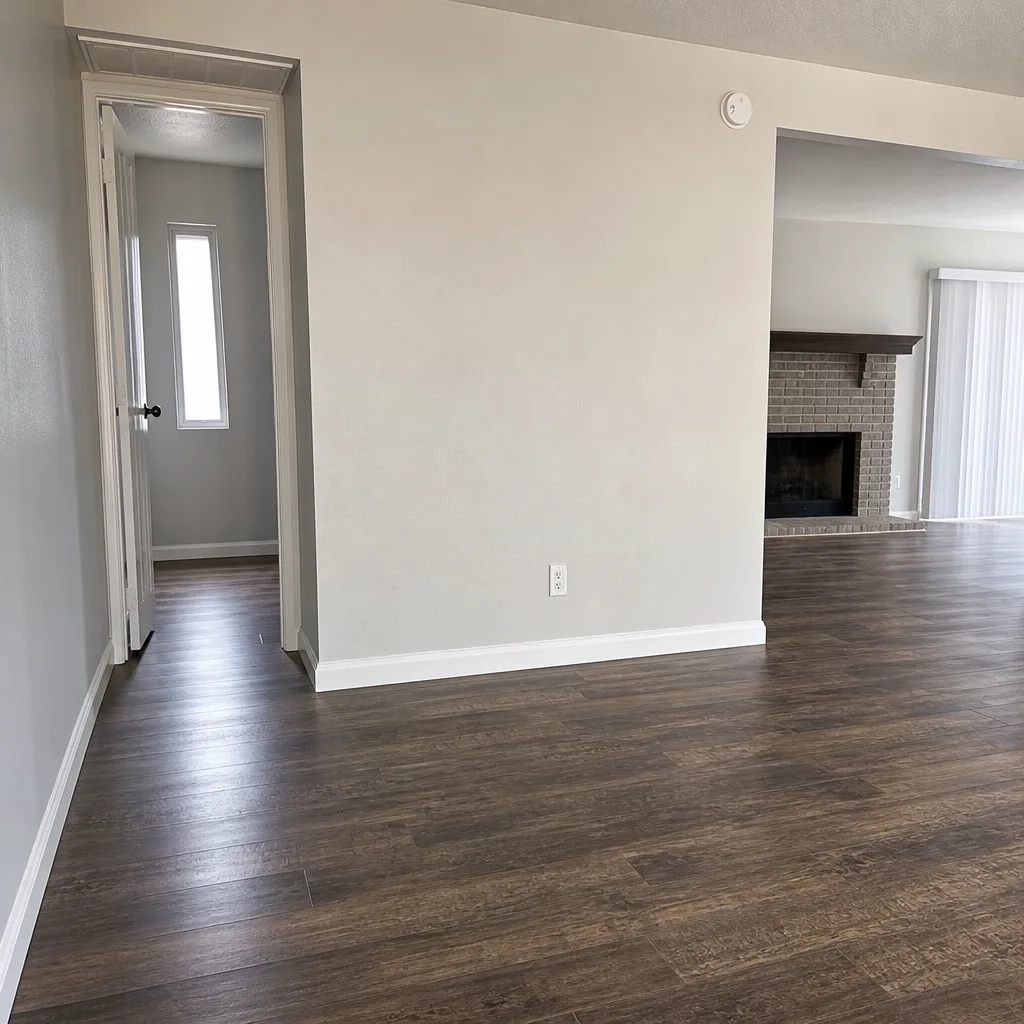 After
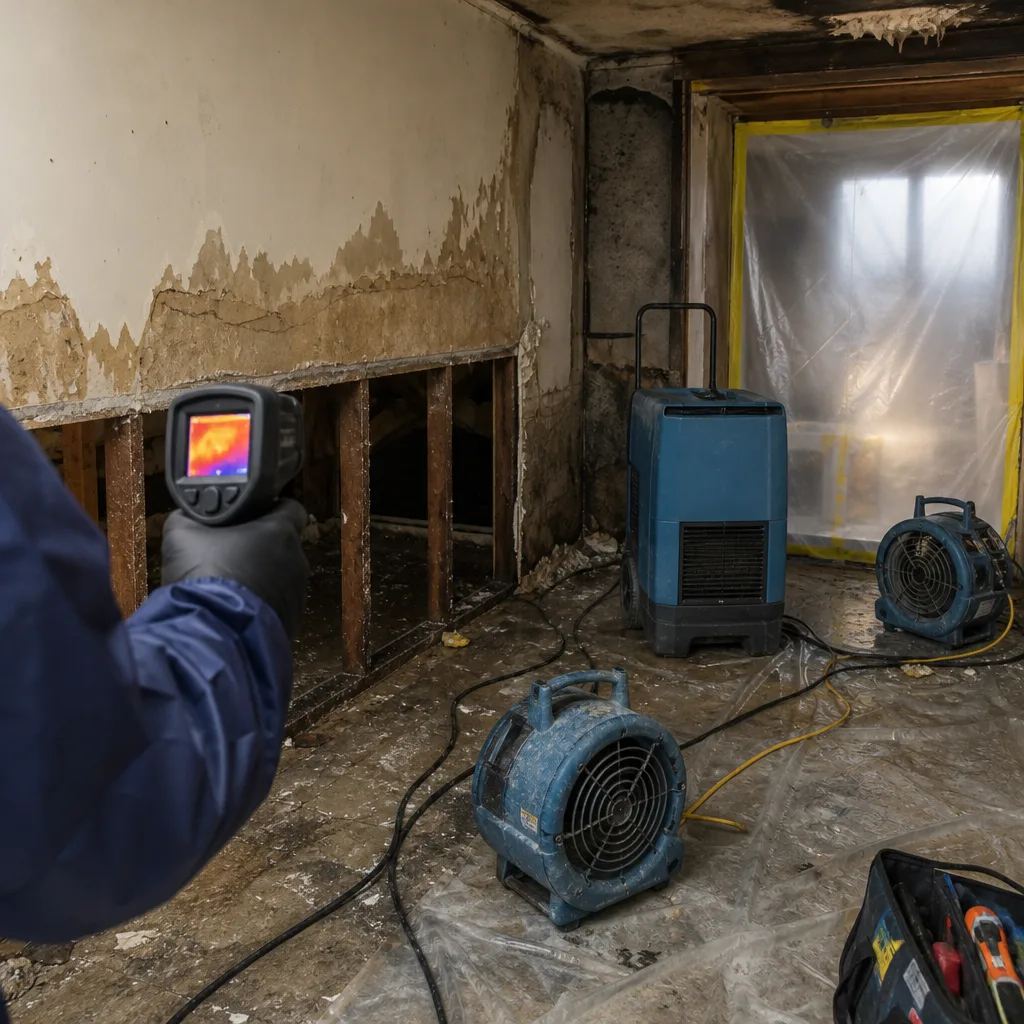
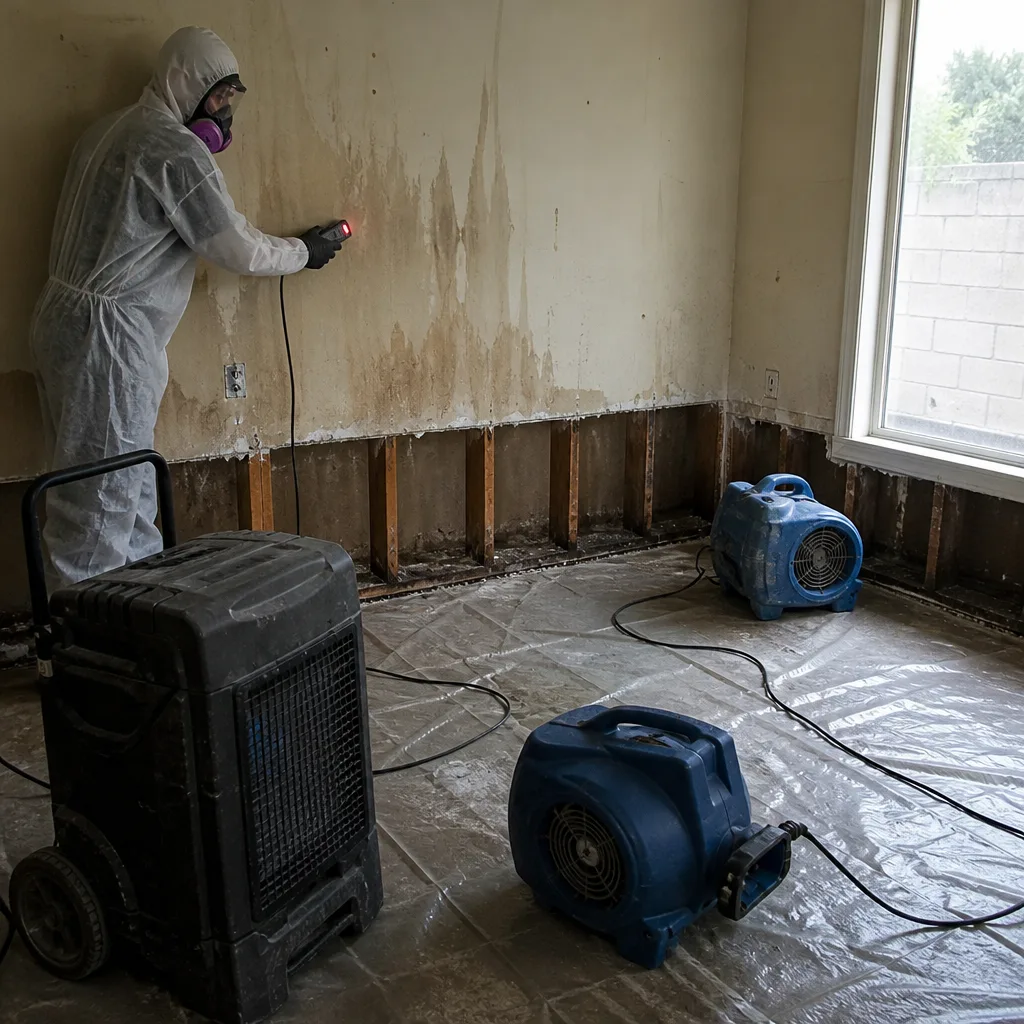 Before
 After
 Before
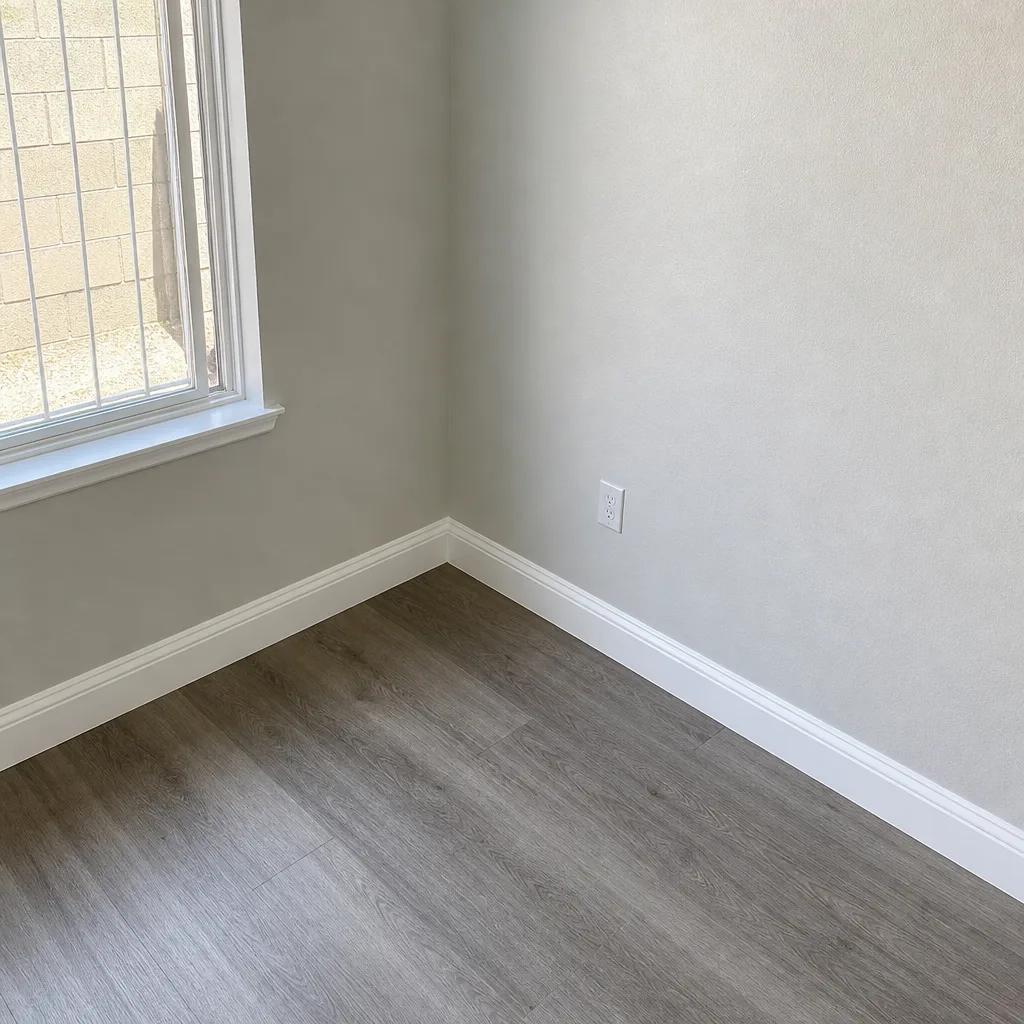 After